Wednesday, September 10, 2014

Tutorial: Make your own Starfighter Part 1 The Nose

It's September and for a lot of Lego builders its also Space-tember.  It's a grand time to imagine and build myriad forms of space related MOCs.

And when you are in space most folks think of STARSHIPS!

If you've ever wondered how to make your own ship and were afraid to venture past the instructions included in your Lego sets follow this new series of mine as I give some techniques in creating your own starships.

I built the model below for one of the activities of my build team #teamtopak.   I call it "The Sunburst"  I'll show everyone the steps I did to build it.

The Sunburst


The Nose

We'll start of with the nose of the ship.

TIP:  It is best to create your ships in sections and then put them all together.  A lot of folks start off with the cockpit and build outward.  For this particular ship I wanted to start with the nose section.

If we look closely at the nose of "The Sunburst" the first we notice is that there are a lot of plates covering it and it makes use of SNOT techniques.  SNOT stands for "Studs Not On Top" which is Lego building speak for ways to go around the normal studs on top builds.  It's a fine concept for making really complex Lego models.


Here are some bricks that are considered for SNOT builds:

Bricks that let you implement SNOT

The most famous of the ones in the picture is the 1x1 brick with a stud on each of its side, known as the Travis brick.   Initially the Travis was what I had in mind to be able to mount plates on both sides and the top of the fighter's nose.  I decided to look for some other pieces that might be able to implement the same effects and I came up with:

The traffic light brick
The traffic light brick, so called because it was initially used as the hub for connecting stop lights, came to mind.  When considering builds and what bricks to use the texture or shape of the brick can help immensely in giving extra details to the build.

Starting with the tip of the nose section

2 traffic light bricks help me assemble the tip of the nose section.  When starting out with your own ship it's fine to just use any colored brick at hand to start building.  You can always come back later and get the correct colored parts.


Now we can extend and build the complete nose section.

Additional traffic light bricks were used to lengthen the nose section

And here's why I ended up using the  traffic light brick:

Now I can pretend that someone is working on The Sunburst's nose section

Remember what I said about picking a piece because it's shape or texture might give the extra details to make your MOC look awesome? By using the traffic light brick it gives the feel of having internal components in my nose section.  If I used the normal Travis brick I would end up with a smooth looking interior when the plates are removed.  Now I can use this extra detail to make ship hangar dioramas where technicians could be shown working on the nose section with the plates removed.


Going back to extra details and giving texture to your work take note of the modified 2x2 plate on the end of the nose section.  The rounded end gives it texture which we shall see in later parts of the tutorial.  Also take note that the entire nose section will connect via SNOT techniques to the body of the starship.


So I'll end here and hopefully you all picked something up about building a starship today.

Be sure to check in for part 2 when we build the cockpit section.

Till then Leg Godt!


PART 2 is here: http://brickstories.blogspot.com/2014/10/tutorial-make-your-own-starfighter-part.html

Tuesday, August 26, 2014

Review: 76014 LEGO Spider-Man Spider-Trike VS Electro

Wow hello all!

It's been a long time since my last post.  All that real world stuff caught up with me in big way.

So to ease myself back into this blog writing thing I'll start with a small set: 76014  LEGO Spider-Man Spider-Trike VS Electro.


The Box:

Pretty standard and comes with the Ultimate Spider-Man logo


The instructions:

Pretty standard stuff with the front of the manual being a copy of the exterior box art.


And then inside it's the usual Lego instructions


The Minifigs:

The set comes with Spider-man and the one of the villains in Amazing Spider-man 2, Electro!


Electro comes with some nifty accessories to represent electric bolts coming out of his hands.

This is the same piece that was used to demonstrate Flash's speedlines.


And here we have a stock Spider-man that doesn't come with his usual web line accessory.  I guess they decided that a spider-trike with two missiles was enough for Spidey in this set.


Hey buddy do I look like Jamie Foxx?


And more of those electric discharges for Electro.  And he swiped a green gem to boot!


The Spider-Trike:

Whoops I almost forgot to mention, although I bought this set I decided to give it to my girlfriend's nephew AJ as a birthday gift.  So it was AJ who did all the building for this one.  The set of course was acquired through the help of my friend Kathryn.


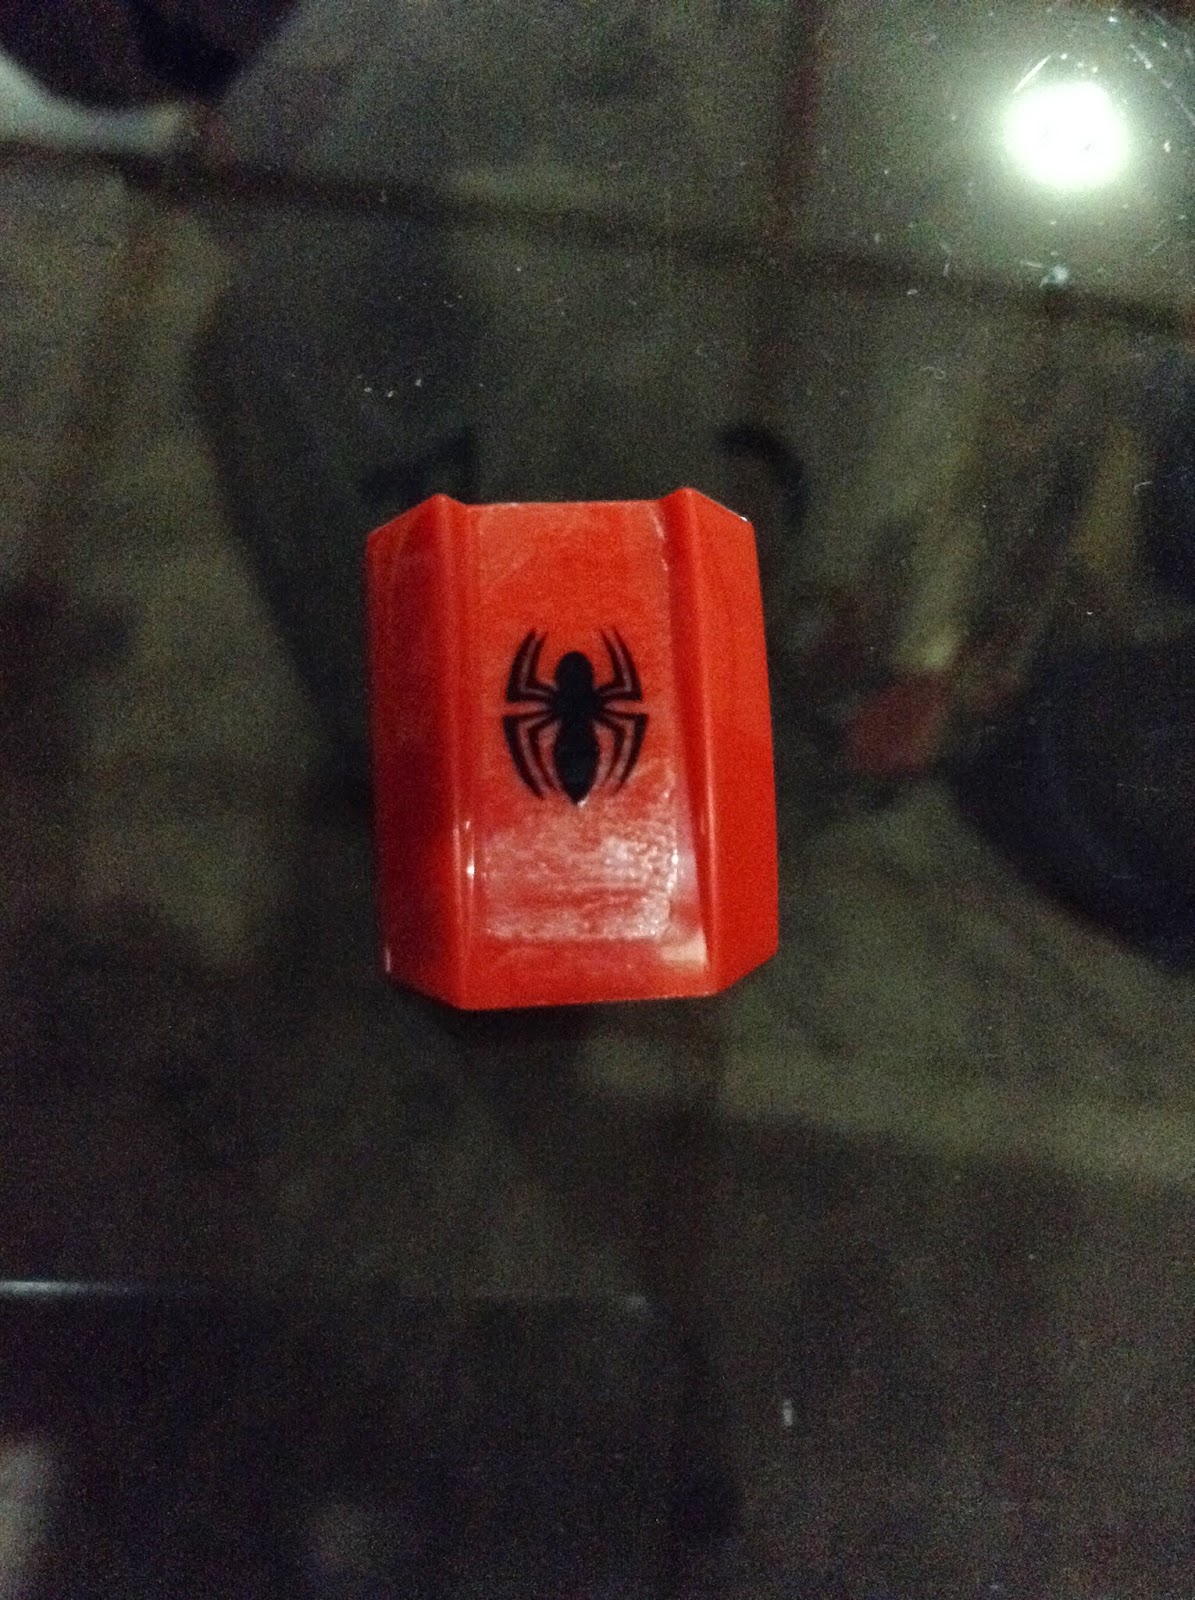
Here's a highlight brick, a modified 2x2 slope with the spider symbol.  I wished it was printed though and not just a sticker.  But it does look good!


When AJ finished the top part of the Trike we both looked at it like it was a jetski.


Here's the completed trike.  Two flick missiles complete the weapons array for this Spider vehicle.


And here's a shot of the trike without Spidey.


The jetski attaches to the lift arm that's strangely in two colors.   Before it was built I thought the back wheels would be angled up a bit but apparently they were on the same level as the front wheels.


Here's Spidey responding to a crime!


In conclusion:

Not a bad small set.  The actual retail price for this set is around 1,388 pesos at local Lego retailers.  I got it for far less than that.

The pieces in red and blue offer a nice selection for other builds like jets and battle armor that will be done in Spider-Man colors.

The minifig of Electro was nice except sometimes he reminds us of the X-Men's Iceman.

The wheels are also awesome for your MOCs.

So yeah it's good to be back!  Please do come back for my new series on how to build some MOCs :)


Wednesday, June 25, 2014

Review: 6873 Spider-Man's Doc Ock Ambush

One of my favorite Lego themes are the superheroes sets.  I've always been a fan of DC and Marvel comics starting way back when I was 5 and my parents bought me a couple of issues of Green Lantern.  A friend offered this box with a good price and I couldn't say no.

So the name of the set is Spider-man's Doc Ock Ambush which looks to me like Webhead trying to either rescue Iron Fist or he himself gets trapped by Dr. Octopus.

The Minifigs:

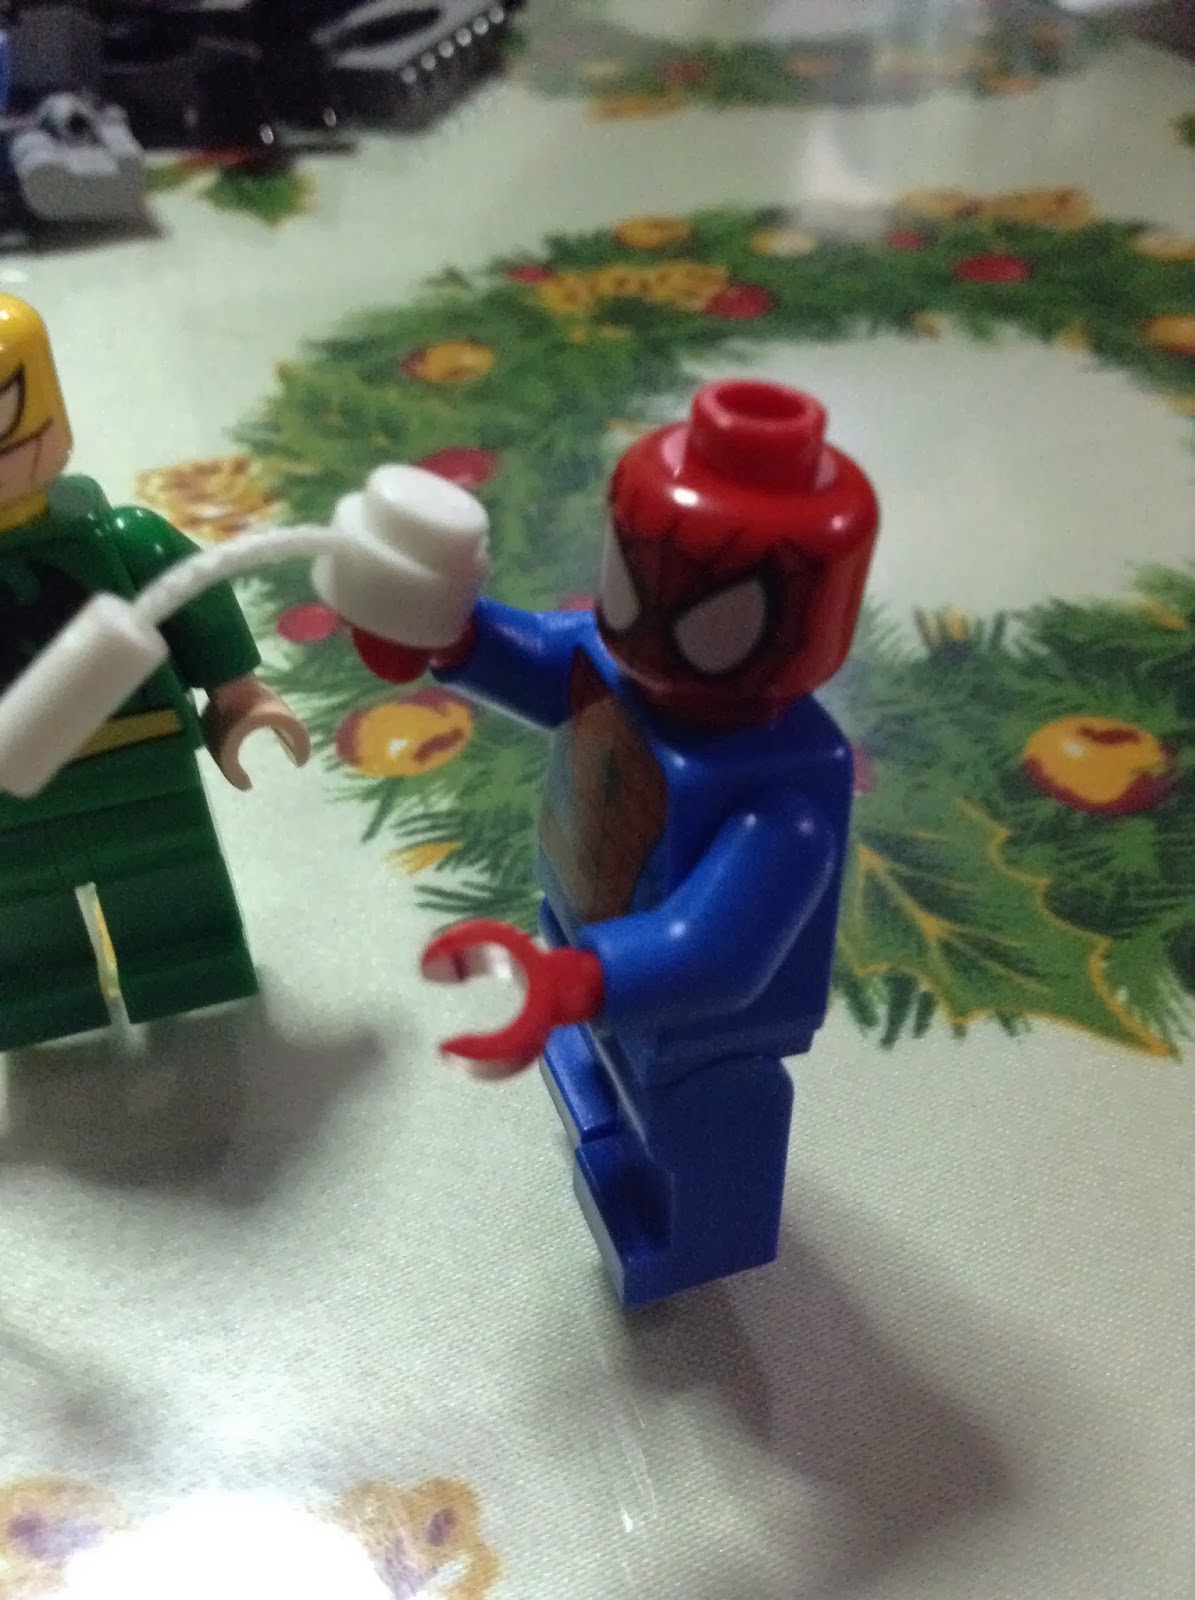
Let's look at the heroes first.  We get Spider-Man of course with his usual Lego web line.  And the fig I like from this set: Iron Fist!  Danny Rand has always been one of those B-list heroes that I've always liked.


So here's Spidey:

And here's Iron Fist.

This is pretty timely since Peter Parker is back at being Spider-Man.  And Iron Fist is getting some love from Marvel with his own series running right now


And here's the villain of our story: Doctor Octopus.  For people who follow the comics Ock spent the past year being Spider-man in a twisted revenge against our favorite webhead.  In the end Ock became somewhat of a hero, managed to save New York city and die in the process.

The minifig Doc Ock has the pin connector as an attachment for four grappling arms.  He mostly needs a stand otherwise the sheer weight of the arms makes the fig unstable to stand up by itself.

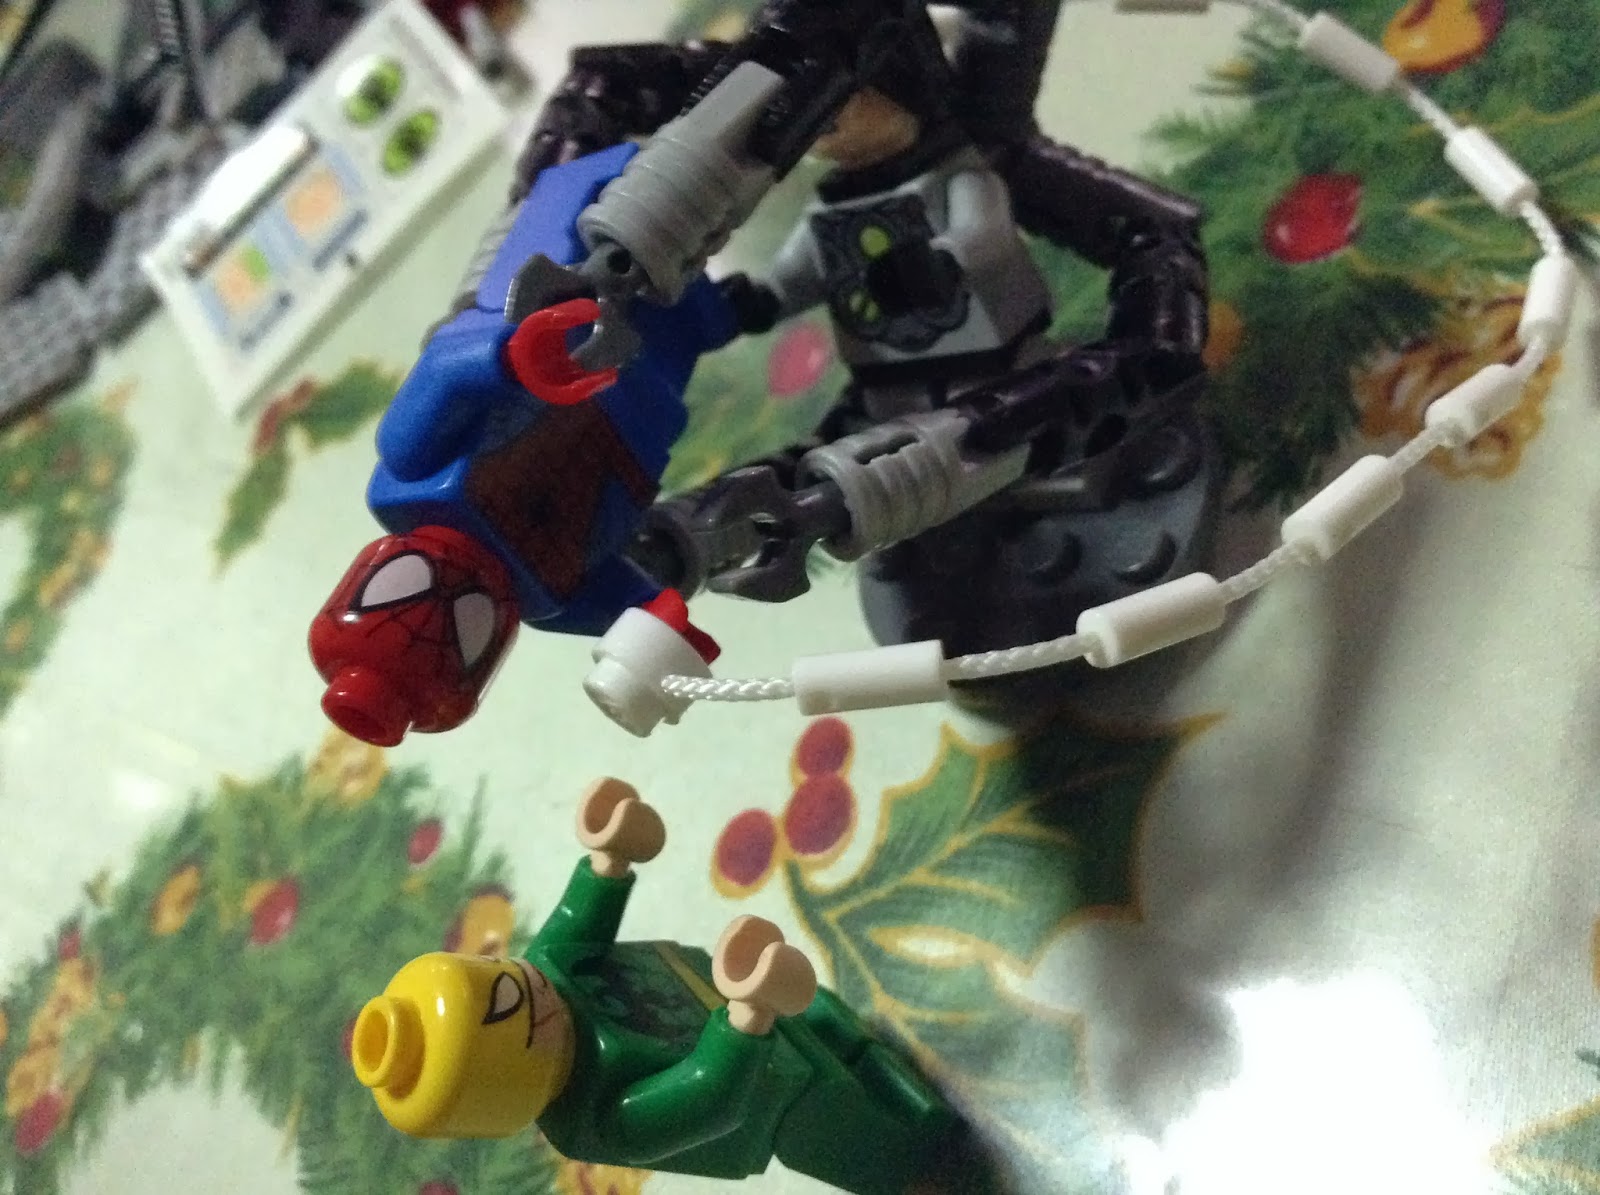
But you can establish awesome shots with Ock's arms as shown below:


Ock!!!!!


Here I managed to get Ock to stand up by using the two lower arms like a tripod.


The Build:

Ok for some strange reason I seem to have misplaced my pictures showing the structures in mid build.  So I only have pictures of the structures after building.  The lab is split up into 3 major sections.  Shown below are two of those sections.  The main computer and lab table as well as the vent section.


Aside from the lab itself we have a vehicle which Ock can ride on.


Here's the vent section:

Here's Ock with his weird buggy.  Oh and look at that he even has his own Doc Ock logo!


The third section of the lab is a containment facility that can fit one minifig.


You can set-up stories where both our intrepid heroes are trapped by Doc Ock for further experimentation!


Iron Fist is trapped in the containment unit.


Ock about to experiment with Spidey!


Here's one way to make Ock stand using his arms.


The lab table!


And here's our final picture.  Doc Ock triumphant!


In conclusion:
The set was a simple straight forward build.  There weren't that many gimmicks involved but there were a lot of parts that can be useful for other future builds.  The air vent for one has a turbine piece that can be used for spaceships and robots.  The containment unit has a cockpit like transparent buble and OCk's arms can be repurposed for future robots.

The vehicle's wheels are great and the nice computer screens are good pieces.

The figs of course are outstanding and buying this set let's you get Spidey with one his most iconic villains. This is also the only set so far where you get Iron Fist.

Until next time.  Leg Godt!


Tuesday, June 3, 2014

MOCs: Atlantean Royal Metal Works Solo Suppression Craft SSC-001x "Hammerhead"

(This continues my on-going series of posts on my own Lego creations (or MOCs for short))

When the Lego DC Superheroes Aquaman minifig came out in the LEGO Arctic Batman vs. Mr. Freeze: Aquaman on Ice Set #76000 I knew I wanted one.

I've always liked Aquaman and felt he was underappreciated as a member of the Justice League of America.

What does he have to do with this MOC.  Well nothing at the start.  I had a box of parts staring at me and I decided to build a one man craft.  And then I put Aquaman in as the pilot and the story started to write itself.  The single man craft would be an underwater speeder for the king of Atlantis.

Time to serve some Fish Fry!


Build #1

The Jet speeder

So I started out with this one.  I think I had GI Joe on my mind and this was similar to a Joe vehicle I vaguely remember.


The underside of the build shows the "lifter" units (The red bricks).


The side view showing the profile of the vehicle.  The landing skids can actually be folded.  Unfortunately I wasn't able to take pictures of the folded skids


Build #2

First the write up I did for this second build:

"Atlantean Royal Metal Works Solo Suppression Craft SSC-001x "Hammerhead"
Arthur Curry, king of Atlantis, commissioned the ARMW to come up with a single person craft capable of doing policing duties in the fringes of the undersea kingdom of Atlantis.

The result of that request was the creation of the Hammerhead. A single seater underwater speeder, it has dual weapons hard points that enable ARMW to mount a flexible array of weapons load outs.
It has since been distributed in large numbers to help out in the anti-rebel efforts of Arthur Curry.
some rich Atlanteans have requested their own personal Hammerheads without the weapons hard points."

So the second build looks like a more fully formed vehicle if you ask me.

It now comes complete with small wings on the side that can change their angle as well as a weapons hardpoint in front.


Here's a front view of Aquaman with his new ride


Looks decent enough.  I wish I had the bricks I used here in other colors.  I really want tos see this in an all read version.  Or all black.


What do you guys think?
:)