Tuesday, March 10, 2015

Review: Lego 30012 Microlight

Nice little polybag.  You are mine!

Review: Lego 30012 Microlight


Hello there friends!  Hope you all are still there!  It's been a long long time since my last post as life and work had me buried away in some small little hamlet.  I wasn't able to do much Lego stuff the past few months.  So I'll ease myself back into Lego and into my blog with a review of the Microlight polybag.

This little set came free in a couple of promotions in the UK and the US.  It can also be bought for $3.99 in certain US outlets.  I got mine for about 300 pesos if I remember correctly.

If I haven't mentioned it yet I love planes and mostly anything that can fly.  So I have this bias towards kits that feature flying machines.  And this was a nice cheap one.

Opening the bag:

 The kit itself contains 34 pieces that includes a nice little minifig and some really awesome parts assortments.  Well the type of parts that I prefer anyway with wings, a properller and a couple of slopes that goes well in builds for cars, ships or robots.

A good 34 piece assortment!

Building the kit:

Let us start of with the minifig.  Our pilot below has a nice aviator shades on and a cool shirt.  The standard Lego helmet with a visor that can open is nice too.  I really dig the minifig pilot here except for the expression on the guy's face.  Smile a little buddy!

I will smile once my plane is running again!
The Microlight:

What is a microlight anyway?

Here's a real one:
Photo courtesy of www.microlight.me.uk
And here's the definition from Wikipedia:

Ultralight aviation (called microlight aviation in some countries) is the flying of lightweight, 1 or 2 seat fixed-wing aircraft. Some countries differentiate between weight shift and 3-axis aircraft, calling the former "microlight" and the latter "ultralight".

During the late 1970s and early 1980s, mostly stimulated by the hang gliding movement, many people sought affordable powered flight. As a result, many aviation authorities set up definitions of lightweight, slow-flying aeroplanes that could be subject to minimum regulations. The resulting aeroplanes are commonly called "ultralight aircraft" or "microlights", although the weight and speed limits differ from country to country.


 So now we have that out of the way let's give our little buddy his flying machine:


It's not a complicated build at all and it does have a lot of nice brick pieces in the set.  That includes the slopes and the SNOT pieces (once again Studs-not-on-top, bricks that let you change the direction of your builds) .

Our little buddy is getting a wee bit excited as his microlight is starting to shape up.


And here we have the completed Microlight!

Not a bad looking model if I do say so myself.


And here are the extra bricks that came with the pack.  Nice an extra visor!


And here are some other pictures of the completed kit.  Please do not mind the banana in the background.


That propeller is nice!  Useful for other builds!


I really enjoyed putting this small kit together.  Hopefully I can get more time to Lego in the next few months.

Hope you guys enjoyed this!

Til next time!  Leg Godt!

Tuesday, December 30, 2014

Tuesday, November 4, 2014

Tutorial: MOC Make your own Lego Airplane

This is the third in a series of articles I'm doing on helping people out in starting their own MOCs

Other tutorials:
1. Make your own Starfighter Part 1
2. Make your own Starfighter Part 2


Ever since I could remember I loved airplanes.  I wanted to be a pilot at one point in time. And although I do love jets I have a soft spot in my heart for propeller driven airplanes.

For this tutorial I'll show everyone one of my techniques for building a propeller driven plane.


Here's my purplish prop driven plane :)


Let's build this!


The Body/Partial Cockpit

You'll need a few of those brick pieces that lovers of SNOT techniques like so much.  SNOT once more is "Studs not on top" which refers to building techniques that change the orientation of bricks.


Here's a side view of the structure.  If a piece is not available try your best to look for alternatives.  You should never let a missing brick hinder you from making a moc.


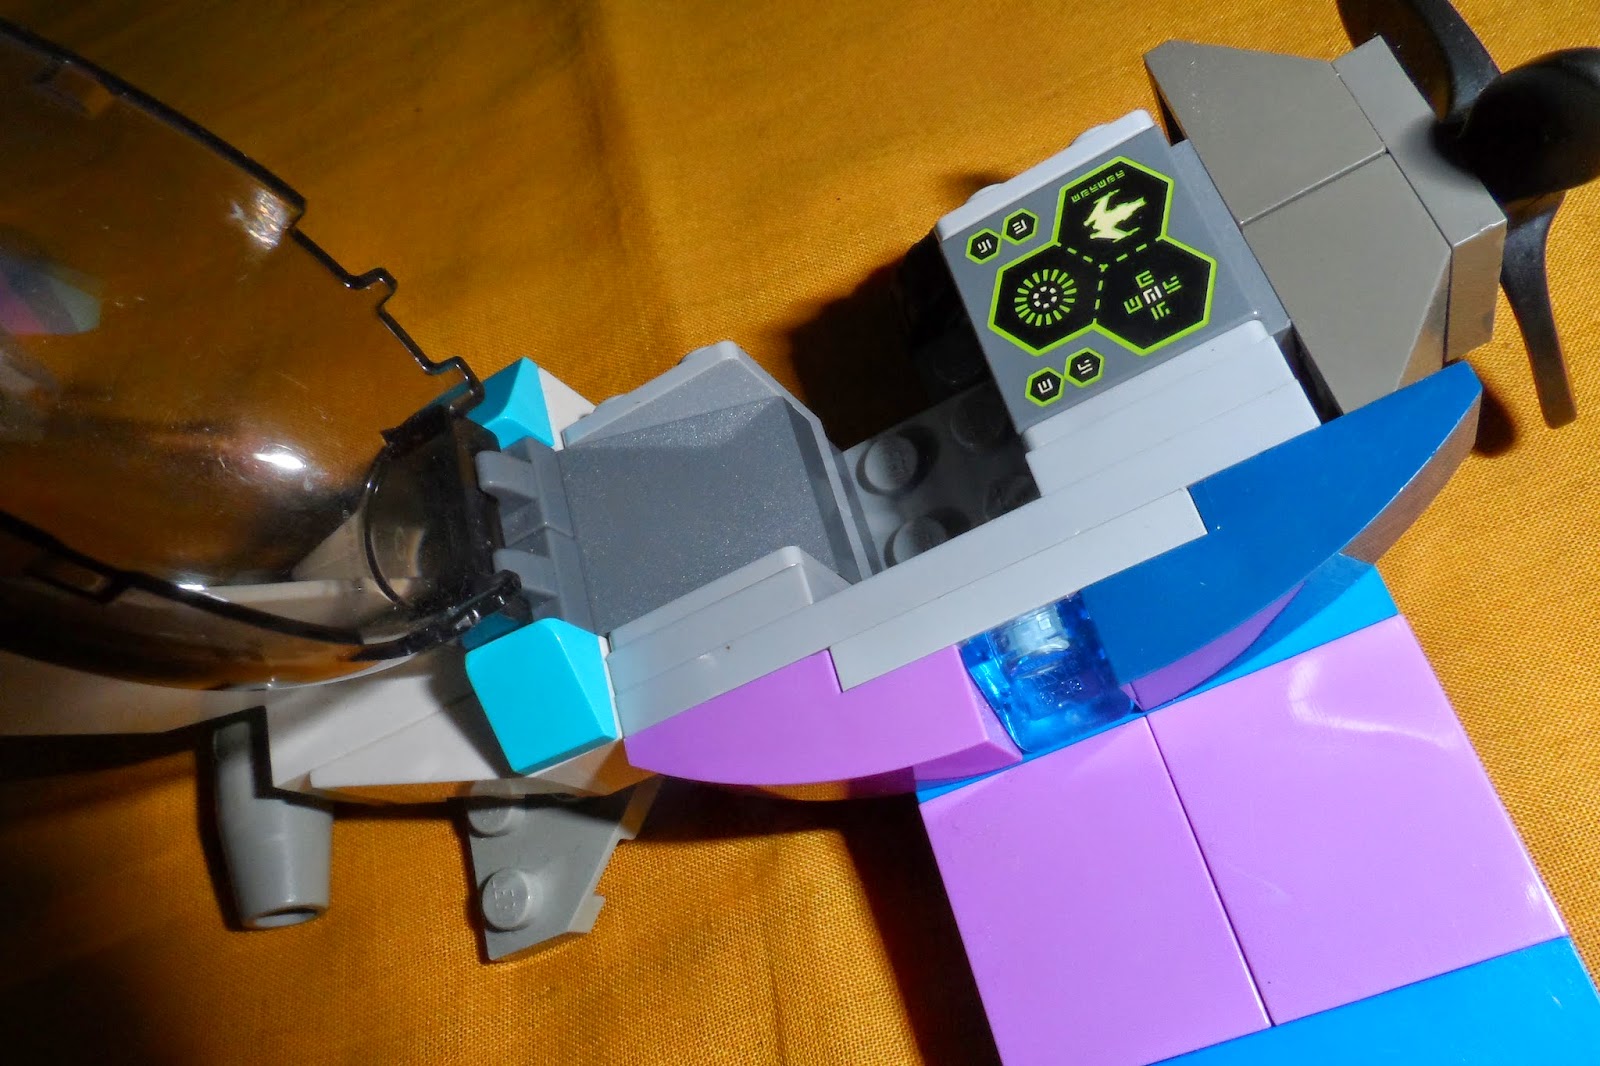
Here's a view from the back.   The tile on top is a special printed piece from an old Mars space set.


So the basic frame of the airplane is complete.  Let's finish the cockpit structure.


Completing the cockpit/body

The picture below shows an expanded view of the parts that will complete the cockpit.  If you want you can replace the bubble canopy with other canopy types.


Here's a close-up of those parts.


And then we put them together in

... one

... two

... three

... steps.

Now once you get to this point your plane is ready for detailing and completion.


The Tail and the Propeller:
Now that the cockpit is complete we can add the other sections that will make it look more like an airplane.

We start with the tail and I was lucky enough to have some tail pieces from old space and city sets.
If you do not have such bricks you can use alternatives like 1x2 slope tiles or similarly shaped items.


This plane is coming along nicely as it is now beginning to show a more airplane-like shape.

The SNOT brick in front will allow us a place to attach our propeller assembly to.


And the propeller is an easy 4 piece build.


Now here's the complete body of the plane.  Only the wings are missing now.


And now to complete our plane.

The Wings

The wing sections are mirror images of each other and are actually simple builds.


Here are different views of the right wing section:

The wing in its proper orientation when connected to the plane
The wing when flipped
The wingtip can be replaced by any brick or tile that will make it look smooth and studless.

This is the part that attaches to the body of the plane
And here is the wing in its disassembled state:
An exploded view of the wing


For the left wing piece it is just a mirror of the right wing.


All that's left now is to connect the wings to finish the moc.


The final phase: Connecting the wings


The completed MOC:  Purplish Prop Plane!


I like how the general proportions of this plane and it's color scheme make it cute and adorable.  By changing the major colors you could transform this into a more menacing form or a more military look.

Well that's it for me today!  Hope you all enjoyed this and learned something new!

Until next time!  Leg Godt!

Sunday, October 12, 2014

Tutorial: Make your own Starfighter Part 2 The Rest of the Ship

This is part 2 of my tutorial for making a Lego starfighter.

Part 1 is here: Making the nose

This is what we are trying to build again The Sunburst:


And last time we ended with the completed nose section (albeit in different colored bricks):


The Nose: revisited


Before we proceed with the rest of the ship I'll show the final build of the nose section:


Now in a unified color scheme (but my photo is discolored darn!)

Here's the completed internal structure of the nose.  The rounded 1x1bricks make it stronger

The Cockpit

The hardest thing about making the cockpit for me personally are two things:
1.  Making the form fit the chosen windscreen
2. Making the cockpit so that a minifig can fit in

This is also the section where all the other modules will connect to.

Observe the jumper connectors for the nose section

I actually misjudged the depth of the pilot seat.  The minifig is almost lying down.


Here's the sideview.  The windscreen fits the cockpit assembly nicely.


Here's a view from the back.  The protruding plates are there as connection points for the engine assembly.


The underside of the cockpit.

The bottom of the cockpit missing the additional bricks for the engine assembly.


A closer view of the side of the ship.  The dark blue grey slope is where the wings will be attached.


The Wings

The wings of course are a mirrored pair of each other.  Some snot techniques were used here.  You can add a ton of details to your own version.  The wing modules for the sunburst includes the ion engines needed for short space flights as well as planetary patrols.


The exposed studs will be connected to the DBG slope on the sides of the cockpit.

Bottom details of the wing section


The engine/warp drive:

The warp drive is composed of a few odd pieces that give a machined feel to the assembly.


The two side wings open for hyperdrive activation


Putting it all together:

Here's the sunburst with all the modules laid out and ready for final assembly.

Take note of the details that are now apparent in the nose section.

Another view of the various components of the sunburst

The Sunburst fully assembled


The nice thing about this particular build is I can change sections of the ship without really tearing down the other parts.  I can come up with other totally new ships just by switching out the various sections.

In conclusion:

This isn't by far the definitive way to build a Lego spaceship.  Lego being Lego there are about a bazillion ways to have gone about building this ship.

Hopefully you people out there picked up a technique or two from what I posted.

Please feel free to share your own ship building techniques.

Until next time.  Leg Godt!