This is the third in a series of articles I'm doing on helping people out in starting their own MOCs
Other tutorials:
1.
Make your own Starfighter Part 1
2.
Make your own Starfighter Part 2
Ever since I could remember I loved airplanes. I wanted to be a pilot at one point in time. And although I do love jets I have a soft spot in my heart for propeller driven airplanes.
For this tutorial I'll show everyone one of my techniques for building a propeller driven plane.
Here's my purplish prop driven plane :)
Let's build this!
The Body/Partial Cockpit
You'll need a few of those brick pieces that lovers of SNOT techniques like so much. SNOT once more is "Studs not on top" which refers to building techniques that change the orientation of bricks.
Here's a side view of the structure. If a piece is not available try your best to look for alternatives. You should never let a missing brick hinder you from making a moc.
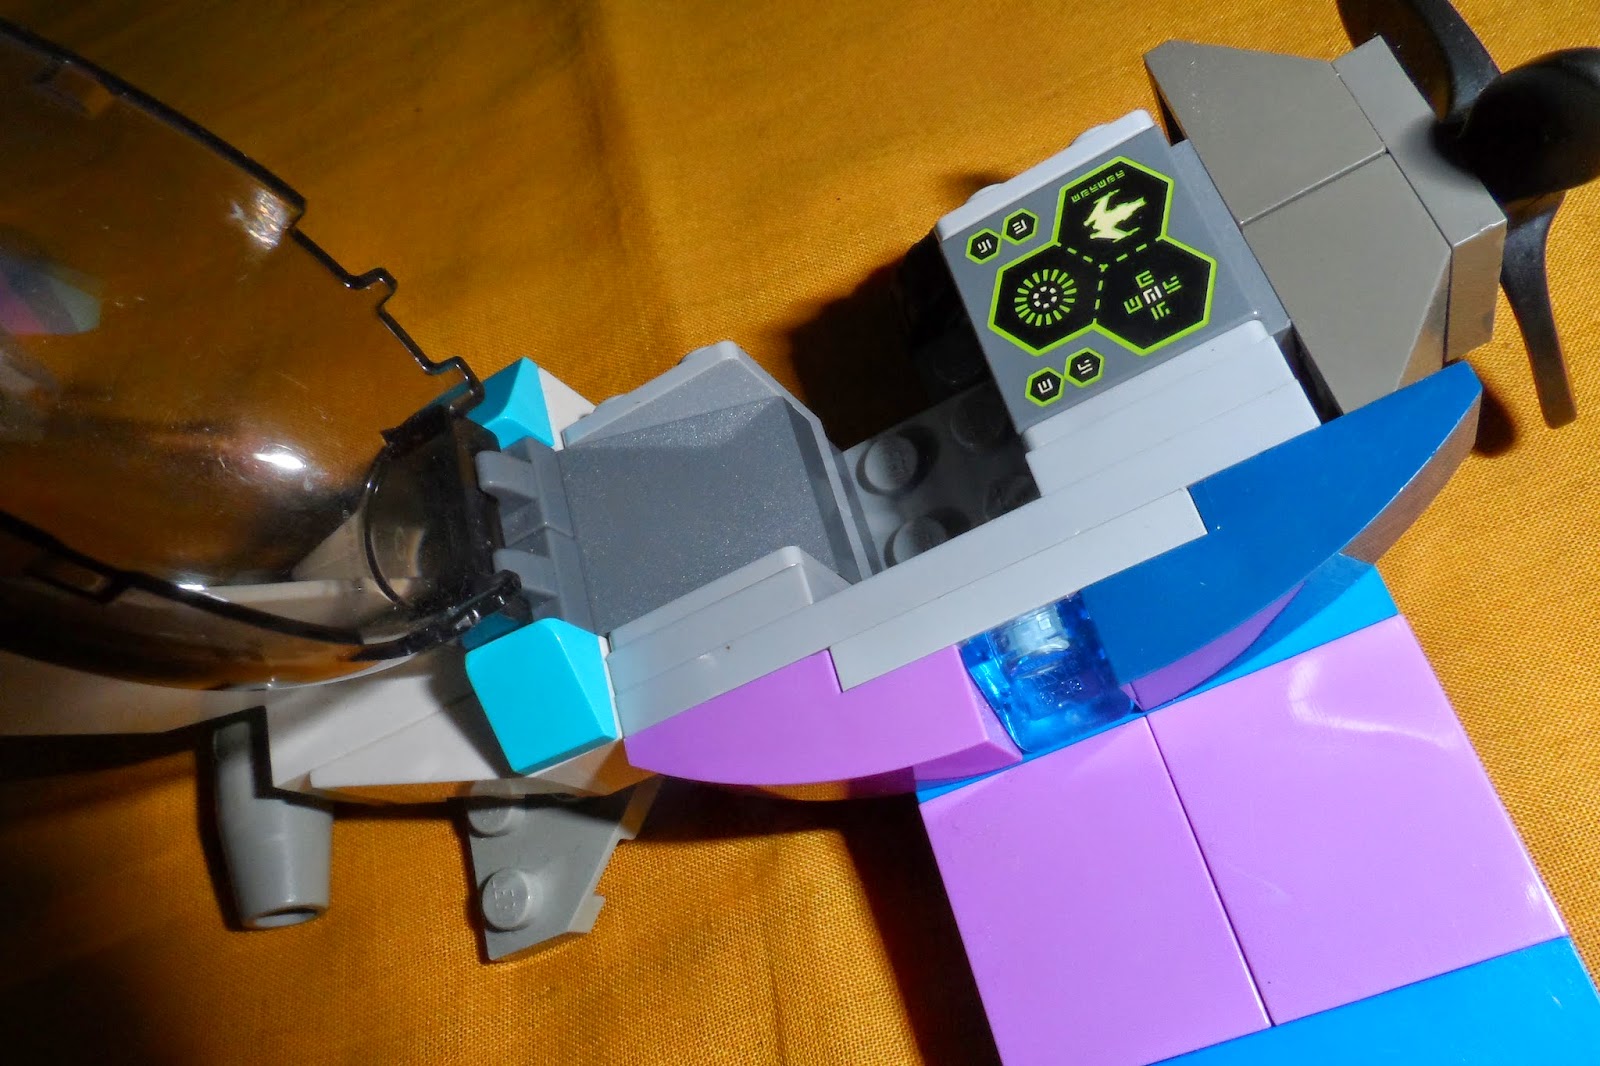
Here's a view from the back. The tile on top is a special printed piece from an old Mars space set.
So the basic frame of the airplane is complete. Let's finish the cockpit structure.
Completing the cockpit/body
The picture below shows an expanded view of the parts that will complete the cockpit. If you want you can replace the bubble canopy with other canopy types.
Here's a close-up of those parts.
And then we put them together in
 |
| ... one |
 |
| ... two |
 |
| ... three |
... steps.
Now once you get to this point your plane is ready for detailing and completion.
The Tail and the Propeller:
Now that the cockpit is complete we can add the other sections that will make it look more like an airplane.
We start with the tail and I was lucky enough to have some tail pieces from old space and city sets.
If you do not have such bricks you can use alternatives like 1x2 slope tiles or similarly shaped items.
This plane is coming along nicely as it is now beginning to show a more airplane-like shape.
The SNOT brick in front will allow us a place to attach our propeller assembly to.
And the propeller is an easy 4 piece build.
Now here's the complete body of the plane. Only the wings are missing now.
And now to complete our plane.
The Wings
The wing sections are mirror images of each other and are actually simple builds.
Here are different views of the right wing section:
 |
| The wing in its proper orientation when connected to the plane |
 |
| The wing when flipped |
The wingtip can be replaced by any brick or tile that will make it look smooth and studless.
 |
| This is the part that attaches to the body of the plane |
And here is the wing in its disassembled state:
 |
| An exploded view of the wing |
For the left wing piece it is just a mirror of the right wing.
All that's left now is to connect the wings to finish the moc.
The final phase: Connecting the wings
The completed MOC: Purplish Prop Plane!
I like how the general proportions of this plane and it's color scheme make it cute and adorable. By changing the major colors you could transform this into a more menacing form or a more military look.
Well that's it for me today! Hope you all enjoyed this and learned something new!
Until next time! Leg Godt!